
DIY Guide: Installing a Smart Thermostat Safely and Efficiently


Understanding Smart Thermostats
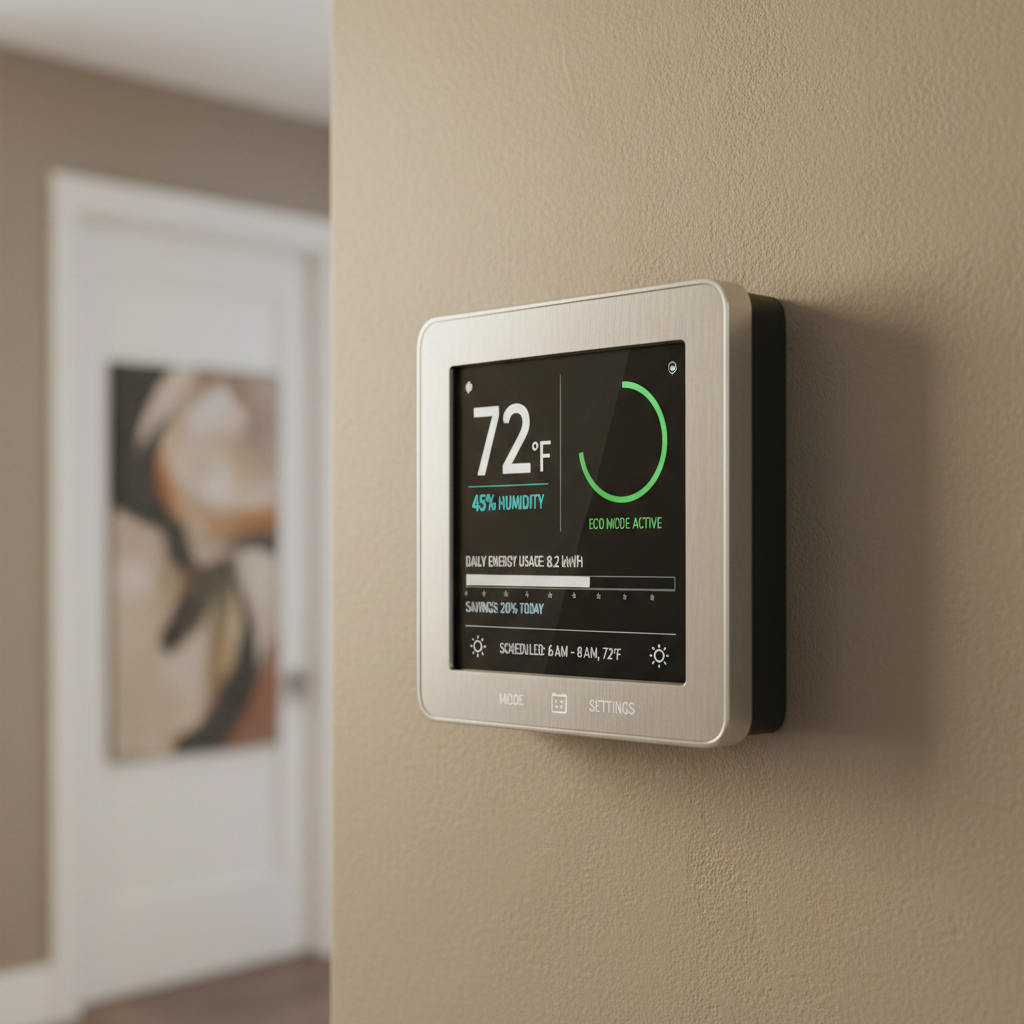
Smart thermostats are revolutionizing the way we manage home energy use. By learning your schedule and preferences, they can significantly reduce energy waste and save you money on utility bills. However, before you begin the installation process, it's essential to understand what a smart thermostat is and how it can benefit your home.
These devices connect to your home Wi-Fi, allowing you to control the temperature remotely via a smartphone app. Many models also integrate with voice assistants like Alexa or Google Assistant, providing even more convenience.
Gathering Necessary Tools
Before getting started, ensure you have all the necessary tools and materials. Most installations require the following:
- Phillips and flathead screwdrivers
- Drill with drill bits
- Level
- Smartphone or tablet
- The smart thermostat and its accompanying hardware
Having everything on hand will make the process smoother and more efficient.
Turning Off Power
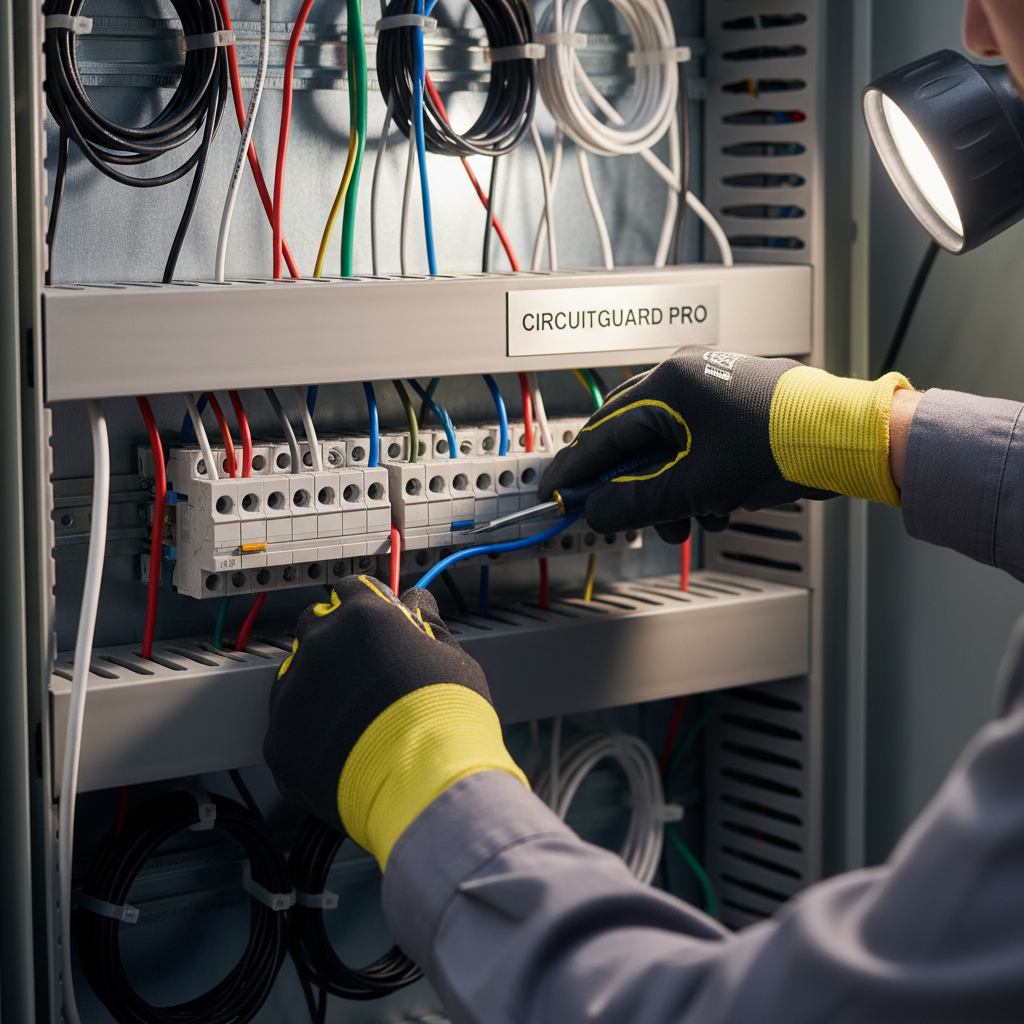
Safety first! Before you start any electrical work, turn off the power to your HVAC system at the circuit breaker. This step is crucial to prevent any electrical mishaps during the installation process.
Removing the Old Thermostat
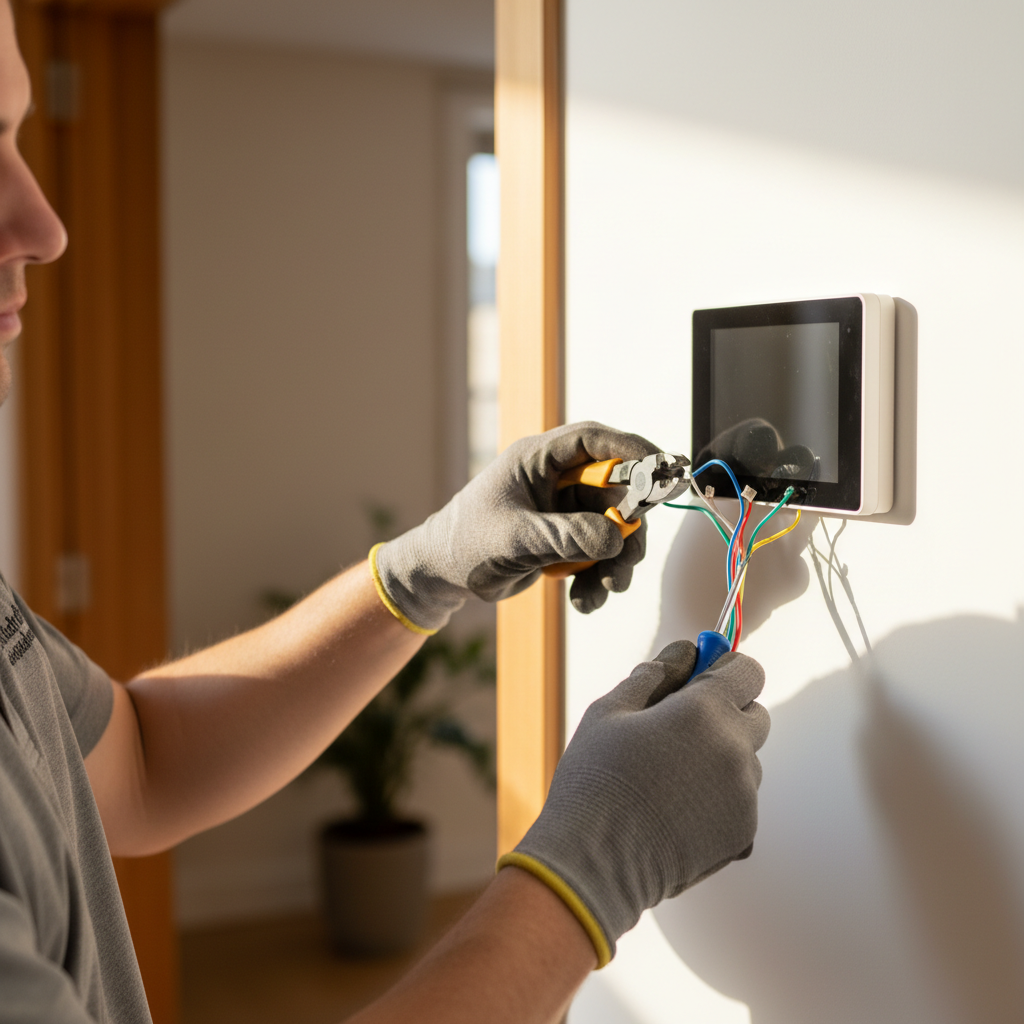
Carefully remove the existing thermostat from the wall. Take note of the wiring configuration by either labeling the wires or taking a photo. This will help you connect the new smart thermostat correctly.
Once the old unit is removed, you may need to patch or paint the wall to ensure a clean installation area for your new device.
Installing the Smart Thermostat
With the old thermostat removed, it's time to install the new one. Follow these steps:
- Mount the new thermostat's base plate to the wall using a level to ensure it's straight.
- Connect the wires to the corresponding terminals on the new thermostat.
- Attach the thermostat faceplate to the base.
Refer to the installation manual for specific instructions related to your thermostat model.
Configuring the Thermostat
Once installed, turn the power back on at the circuit breaker. Follow the manufacturer's instructions to configure the thermostat settings. This typically involves connecting it to your Wi-Fi network and downloading the corresponding app on your smartphone.
Calibration may be required to ensure accurate temperature readings, so follow the app's prompts and input any necessary information about your HVAC system.
Testing and Troubleshooting
After setup, test the thermostat by adjusting the temperature settings through the app. Ensure the HVAC system responds correctly to these changes. If you encounter any issues, consult the troubleshooting section of the user manual or contact customer support.
Maximizing Efficiency
To get the most out of your new smart thermostat, explore its additional features such as scheduling, energy reports, and geofencing. These tools can further enhance your home's energy efficiency and comfort.
Regularly updating the device's firmware will also ensure you have the latest features and security updates.
Conclusion
Installing a smart thermostat is a straightforward DIY project that can bring significant benefits in terms of energy savings and convenience. By following these steps, you can ensure a safe and efficient installation process. Enjoy the modern comfort and control that a smart thermostat brings to your home!